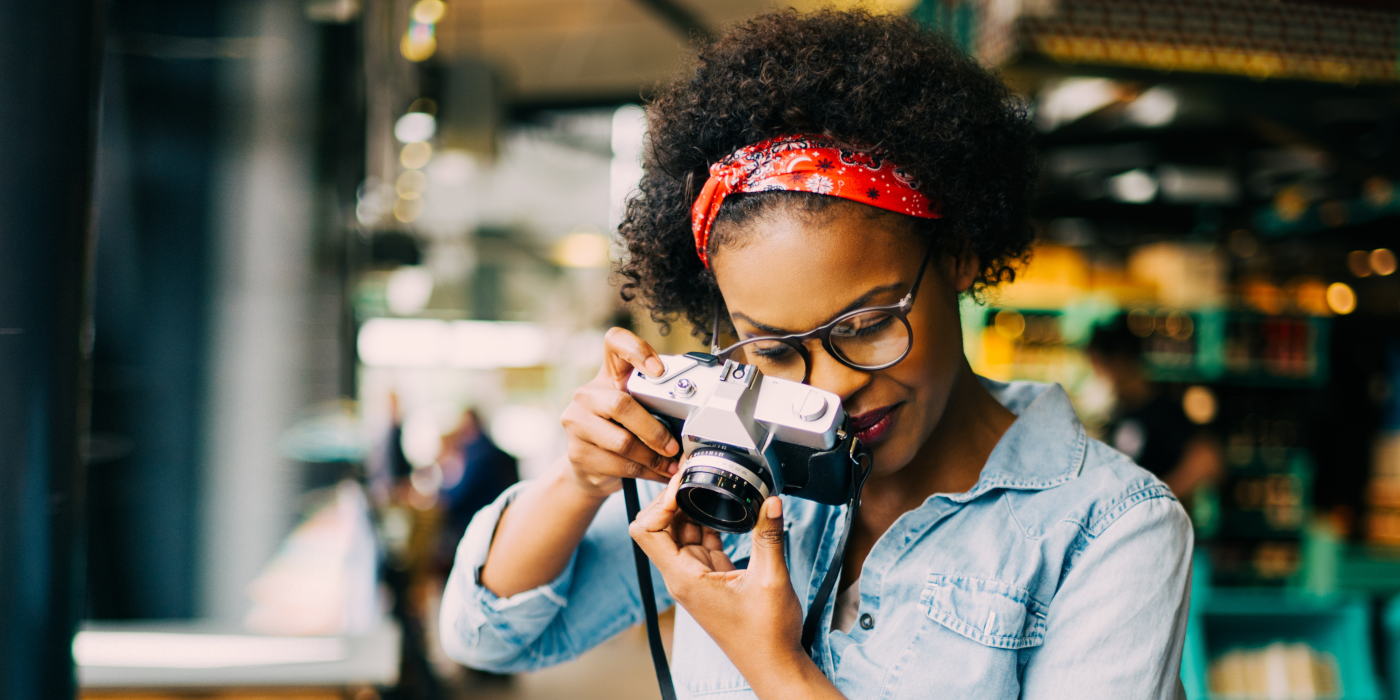
A photography starter guide for beginners.
Have you been thinking about a career or a hobby in photography? You have made a great decision. You might want to learn everything you can in a minute but sometimes it takes a little time. Here are some great photography tips for beginners.
Know your camera

Cameras can be frustrating. It can be discouraging when your photos do not quite turn out as you had hoped. Whether it’s a DSLR, point, and shoot or mirrorless camera, it’s very important to understand what type of camera you have and how it looks at light.
This will help you locate and control the settings better. If it’s a DSLR, you will need to know the shooting modes and metering. If yours is a mirrorless camera, you would probably use it for weddings and other ceremonies because the absence of a mirror flip inside the camera makes shooting a quiet endeavor. It will also have speed boosters which make it easy to take wide shots and videos.
Find a subject to shoot – and get started
Practice makes perfect – or permanent. It is important to find a subject to shoot. There is always a sense of urgency linked to photography. Therefore, no photos are “useless”. In the decision to take a picture, you actively decide and create the conditions in which the photos must be taken and something beautiful comes out of it.
Your subject says a lot about you.
Your subject conveys the story that you were present at some point in time, saw something, and chose to take a picture of it. As a photographer, you document real moments that may never recur. These areas of focus then become your subject.
Compose in thirds
Would you like your photos to be more pleasing to the eye? Incorporate the rule of thirds the next time you want to take a shot. This rule helps artists and photographers to build drama and interest in an art piece. Imagine breaking an image down into thirds both horizontally and vertically so that you have 9 equal parts.
The viewer’s eyes will go to one of the intersection points more naturally rather than the center, so place your point of interest in the intersections. As a result, your photos will look more balanced. It may be hard to apply this rule when you are busy shooting your photograph, so add a grid to your camera settings. With constant practice and a little time, you will be able to master this rule.
Understand ISO, shutter speed, and aperture
These 3 are known as the Kings of Photography. Most DSLRs have “Auto” modes that automatically pick the right shutter speed, aperture, and even ISO for your exposure. In this mode, the camera guesses the right exposure by evaluating the amount of light passing through the lens. However, you do not want to limit your camera. To achieve the best results, learn how to adjust the settings manually.
Avoid camera blur
Every photographer has suffered through this. The first way to avoid it is to hold your camera right. Always use both hands, one around the camera and the other around the lens, holding it closer to your body. Secondly, use a shutter speed that matches the focal length of your lens. Thirdly, use a tripod or monopod whenever possible.
Know when to use flash
Flash is mostly used indoors. An external flash unit bounced off a wall or ceiling will give your images a more natural look. If you are shooting in low light, a flash can be used to freeze motion in a photo. When you are taking photos of your friends undercover, the best way to go unnoticed is to keep your flash away. This way, you will be able to take candid photos of them and their actions as opposed to them posing for the camera with insincere smiles.
The same goes for music concerts. Your flash will probably annoy the band, so lower your shutter speed and widen your aperture so that it picks up more light.
Invest in good a good photography class: An experienced guide to help you learn the most subtle tricks on photography and a class full of people with a shared dream will accelerate your learning process.
You will be able to learn how to be a master in your art and have a qualified professional rate your progress. This is the best way to learn as it prevents you from focusing on an irrelevant art direction.
Some of the best photography schools in the world include:
- The New York Institute of Photography
- Parsons School of Design
- Vevey School of Photography
- Africa Digital Media Institute
- Royal College of Art
These schools are situated in different parts of the world but they all have one thing in common, the most qualified faculty in the field of photography, state-of-the-art photography equipment for their students, personalized care and guidance for all students, and universally acceptable credentials upon graduation. This is everything a beginner photographer needs.
These tips will help you avoid common rookie mistakes in photography. If you wish to become a photography guru, you can learn more here.
Don’t be afraid to be a beginner. It’s the best learning point. In a few weeks, you will be surprised at the kind of progress you will have made!
All the best in your photography journey!


